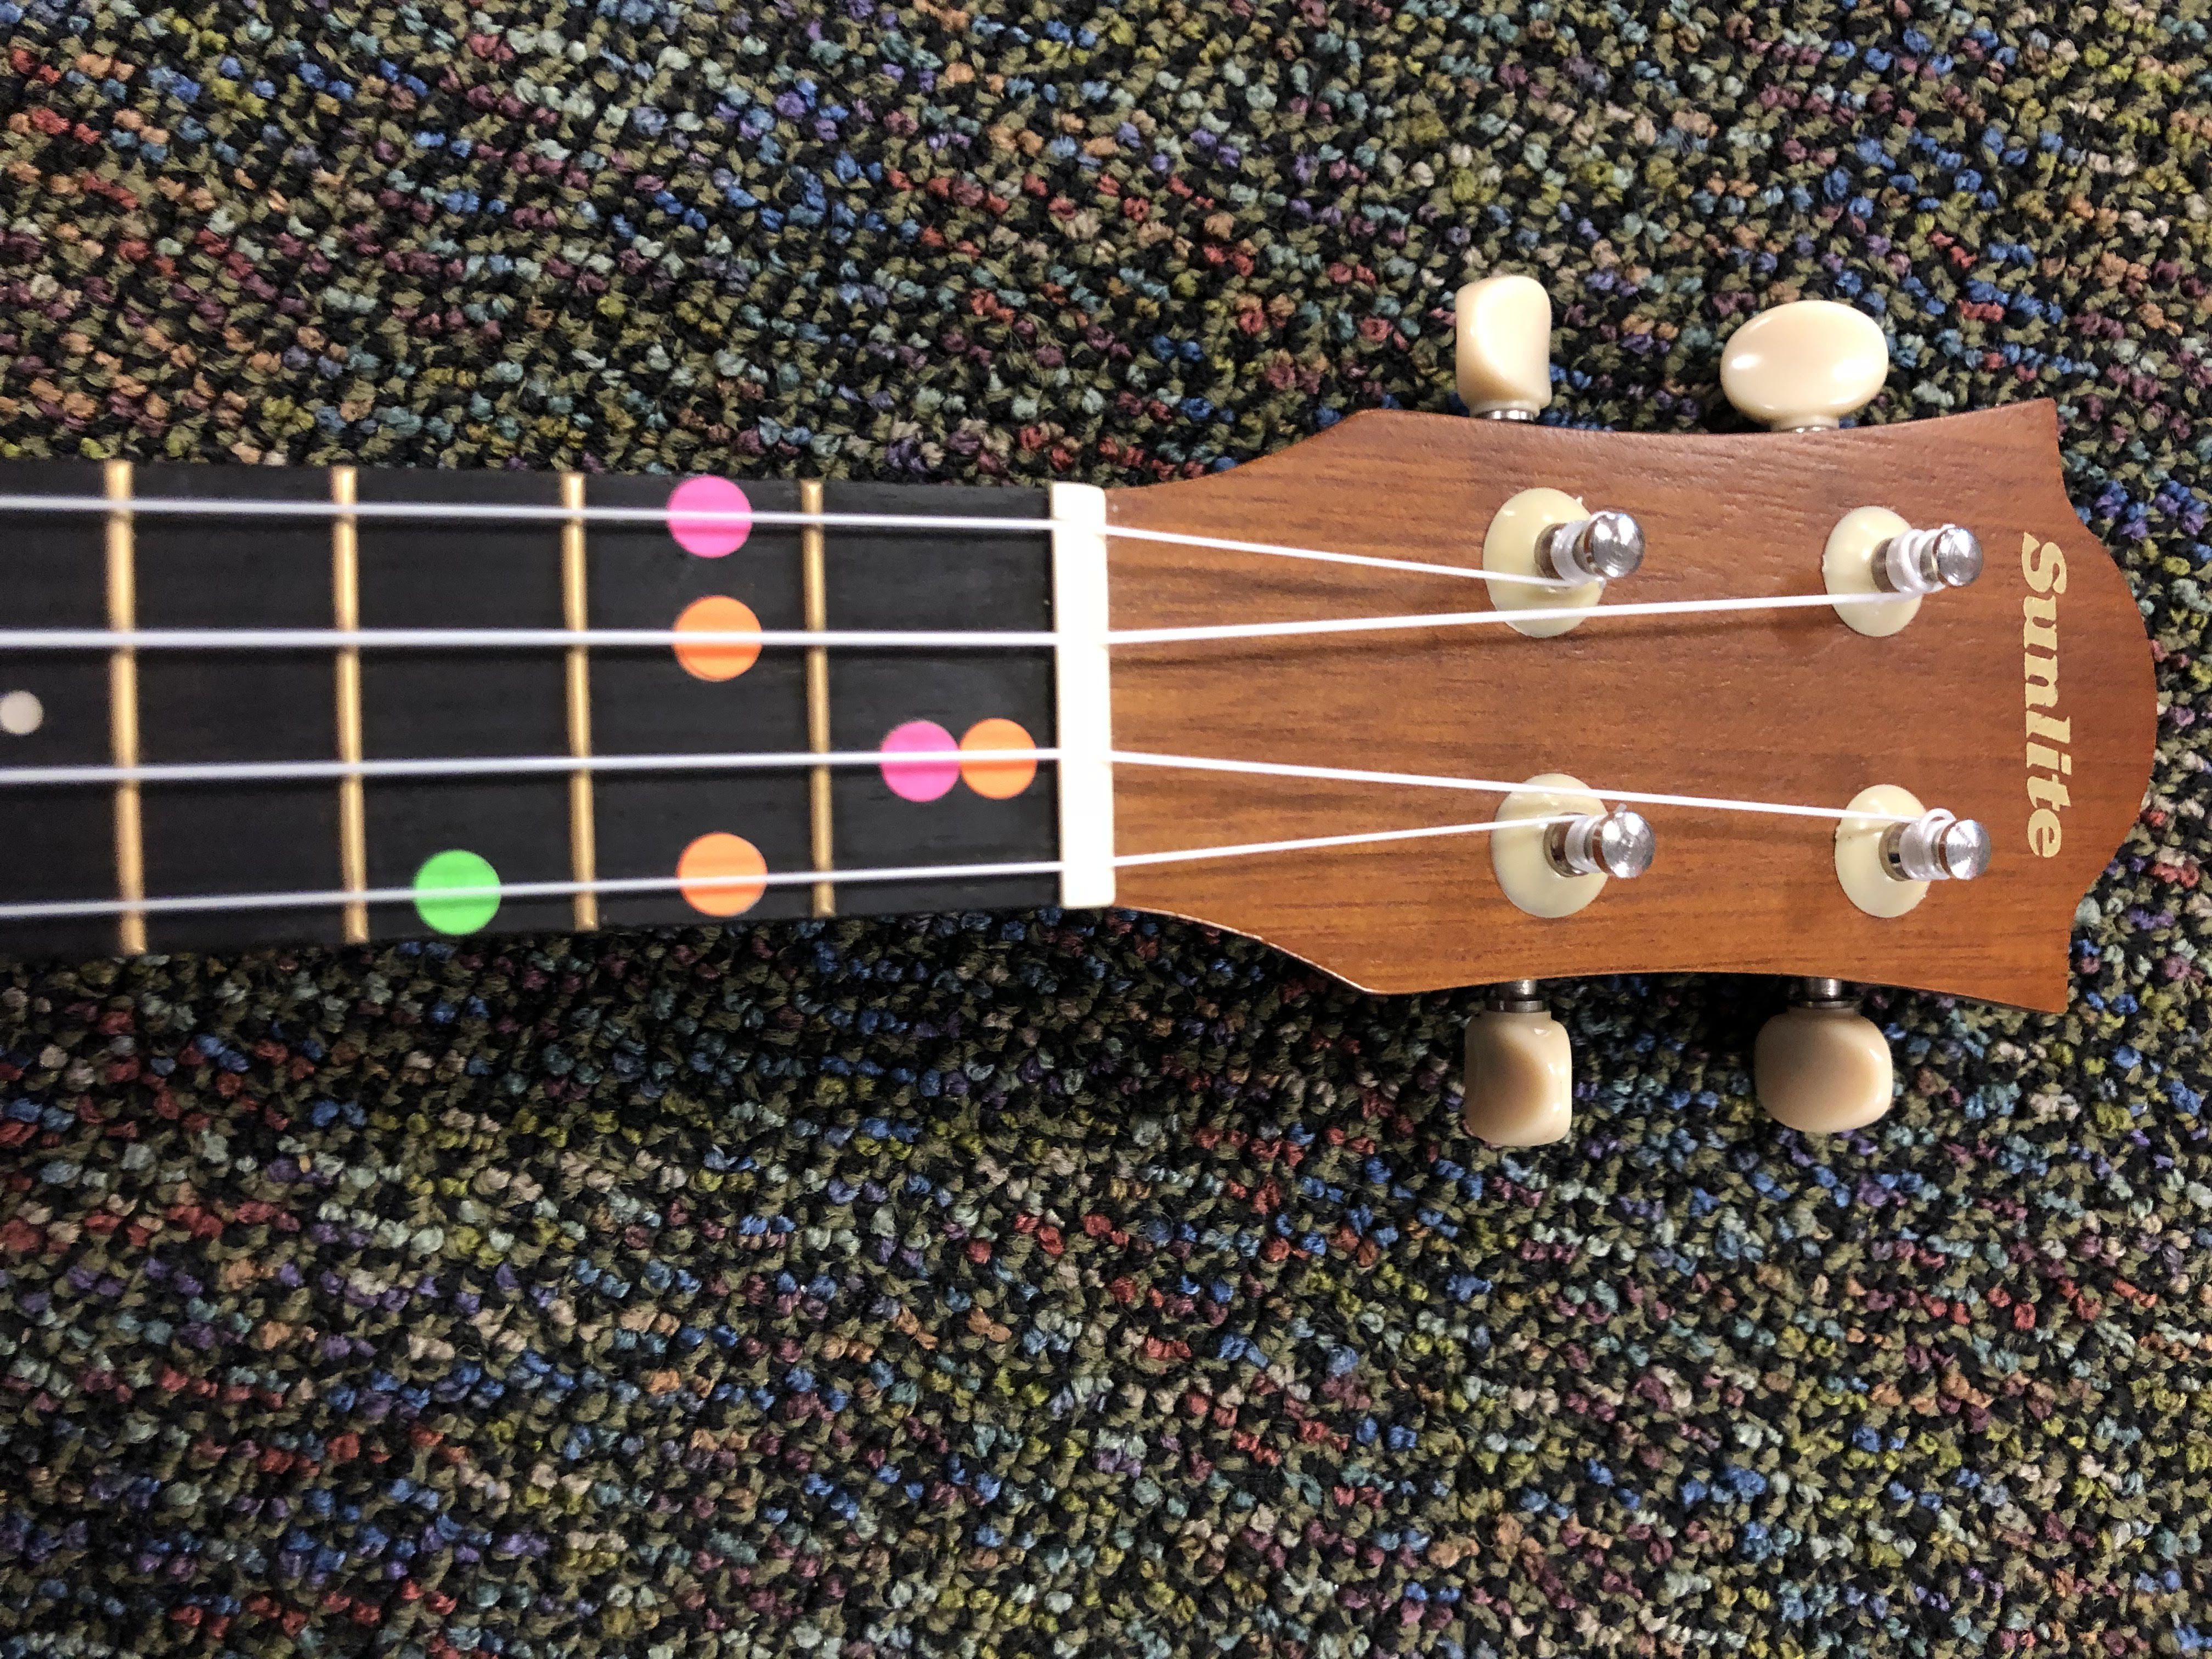
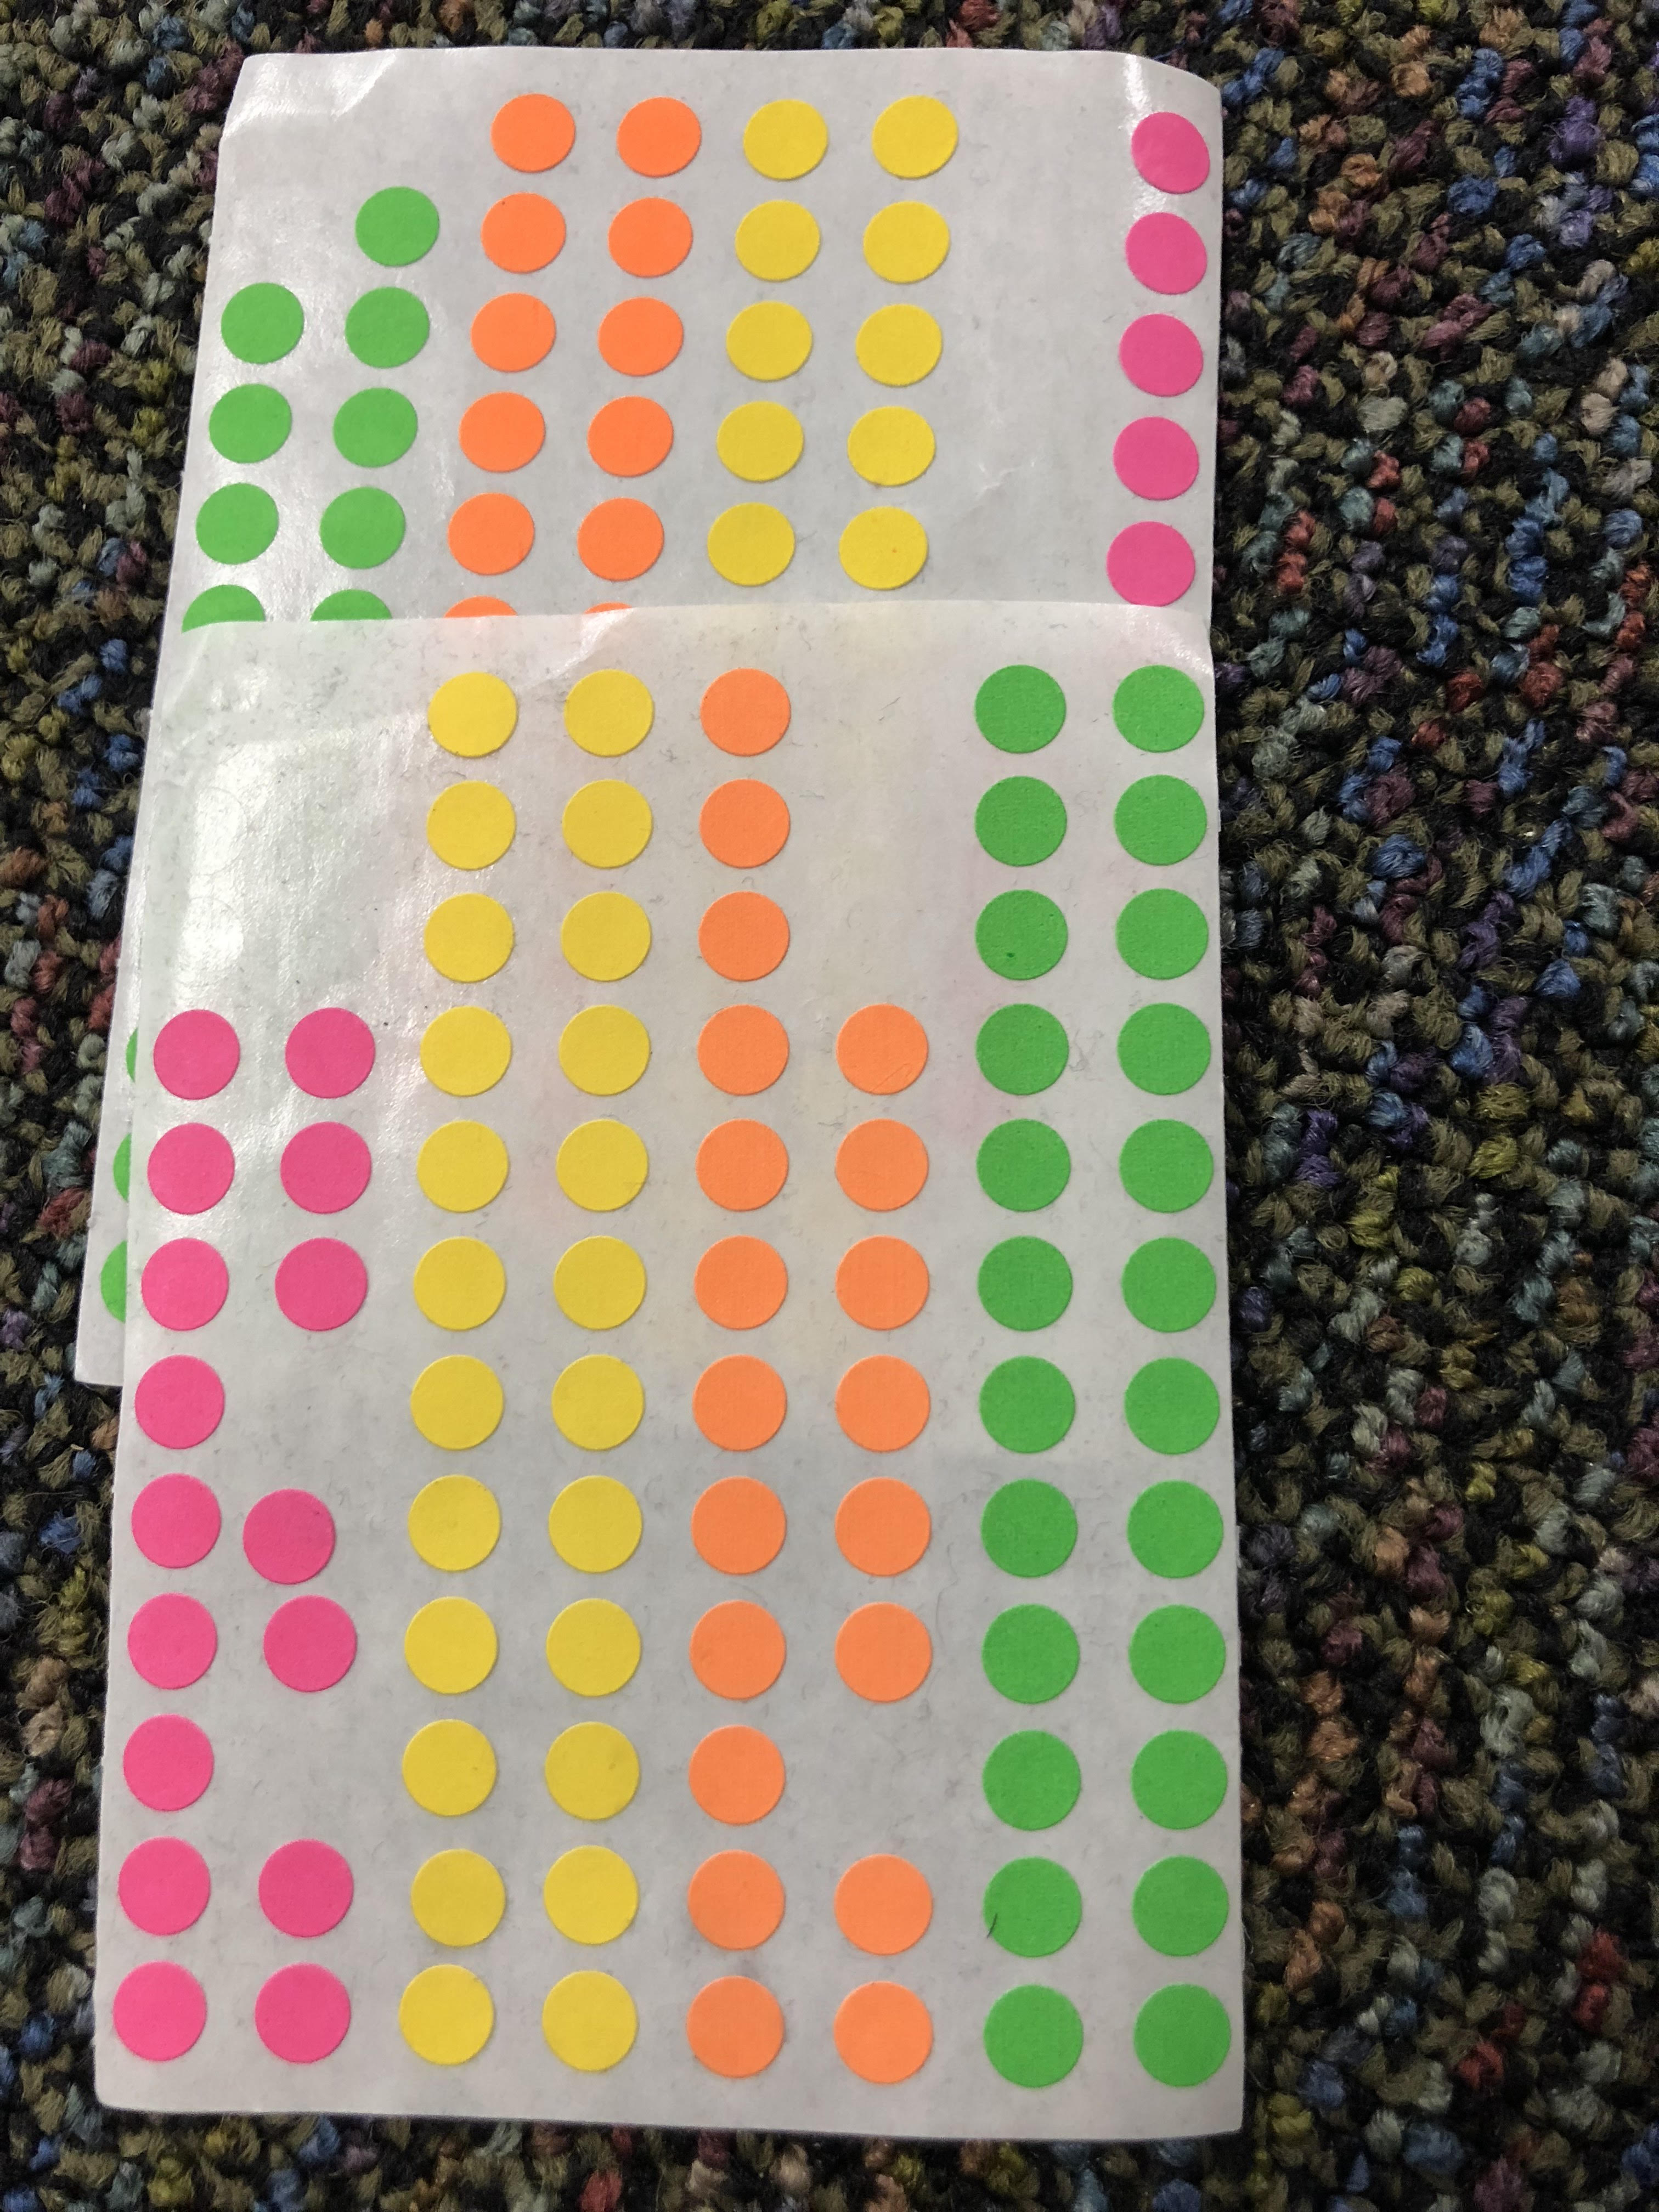
1.Use the “sticker method”.
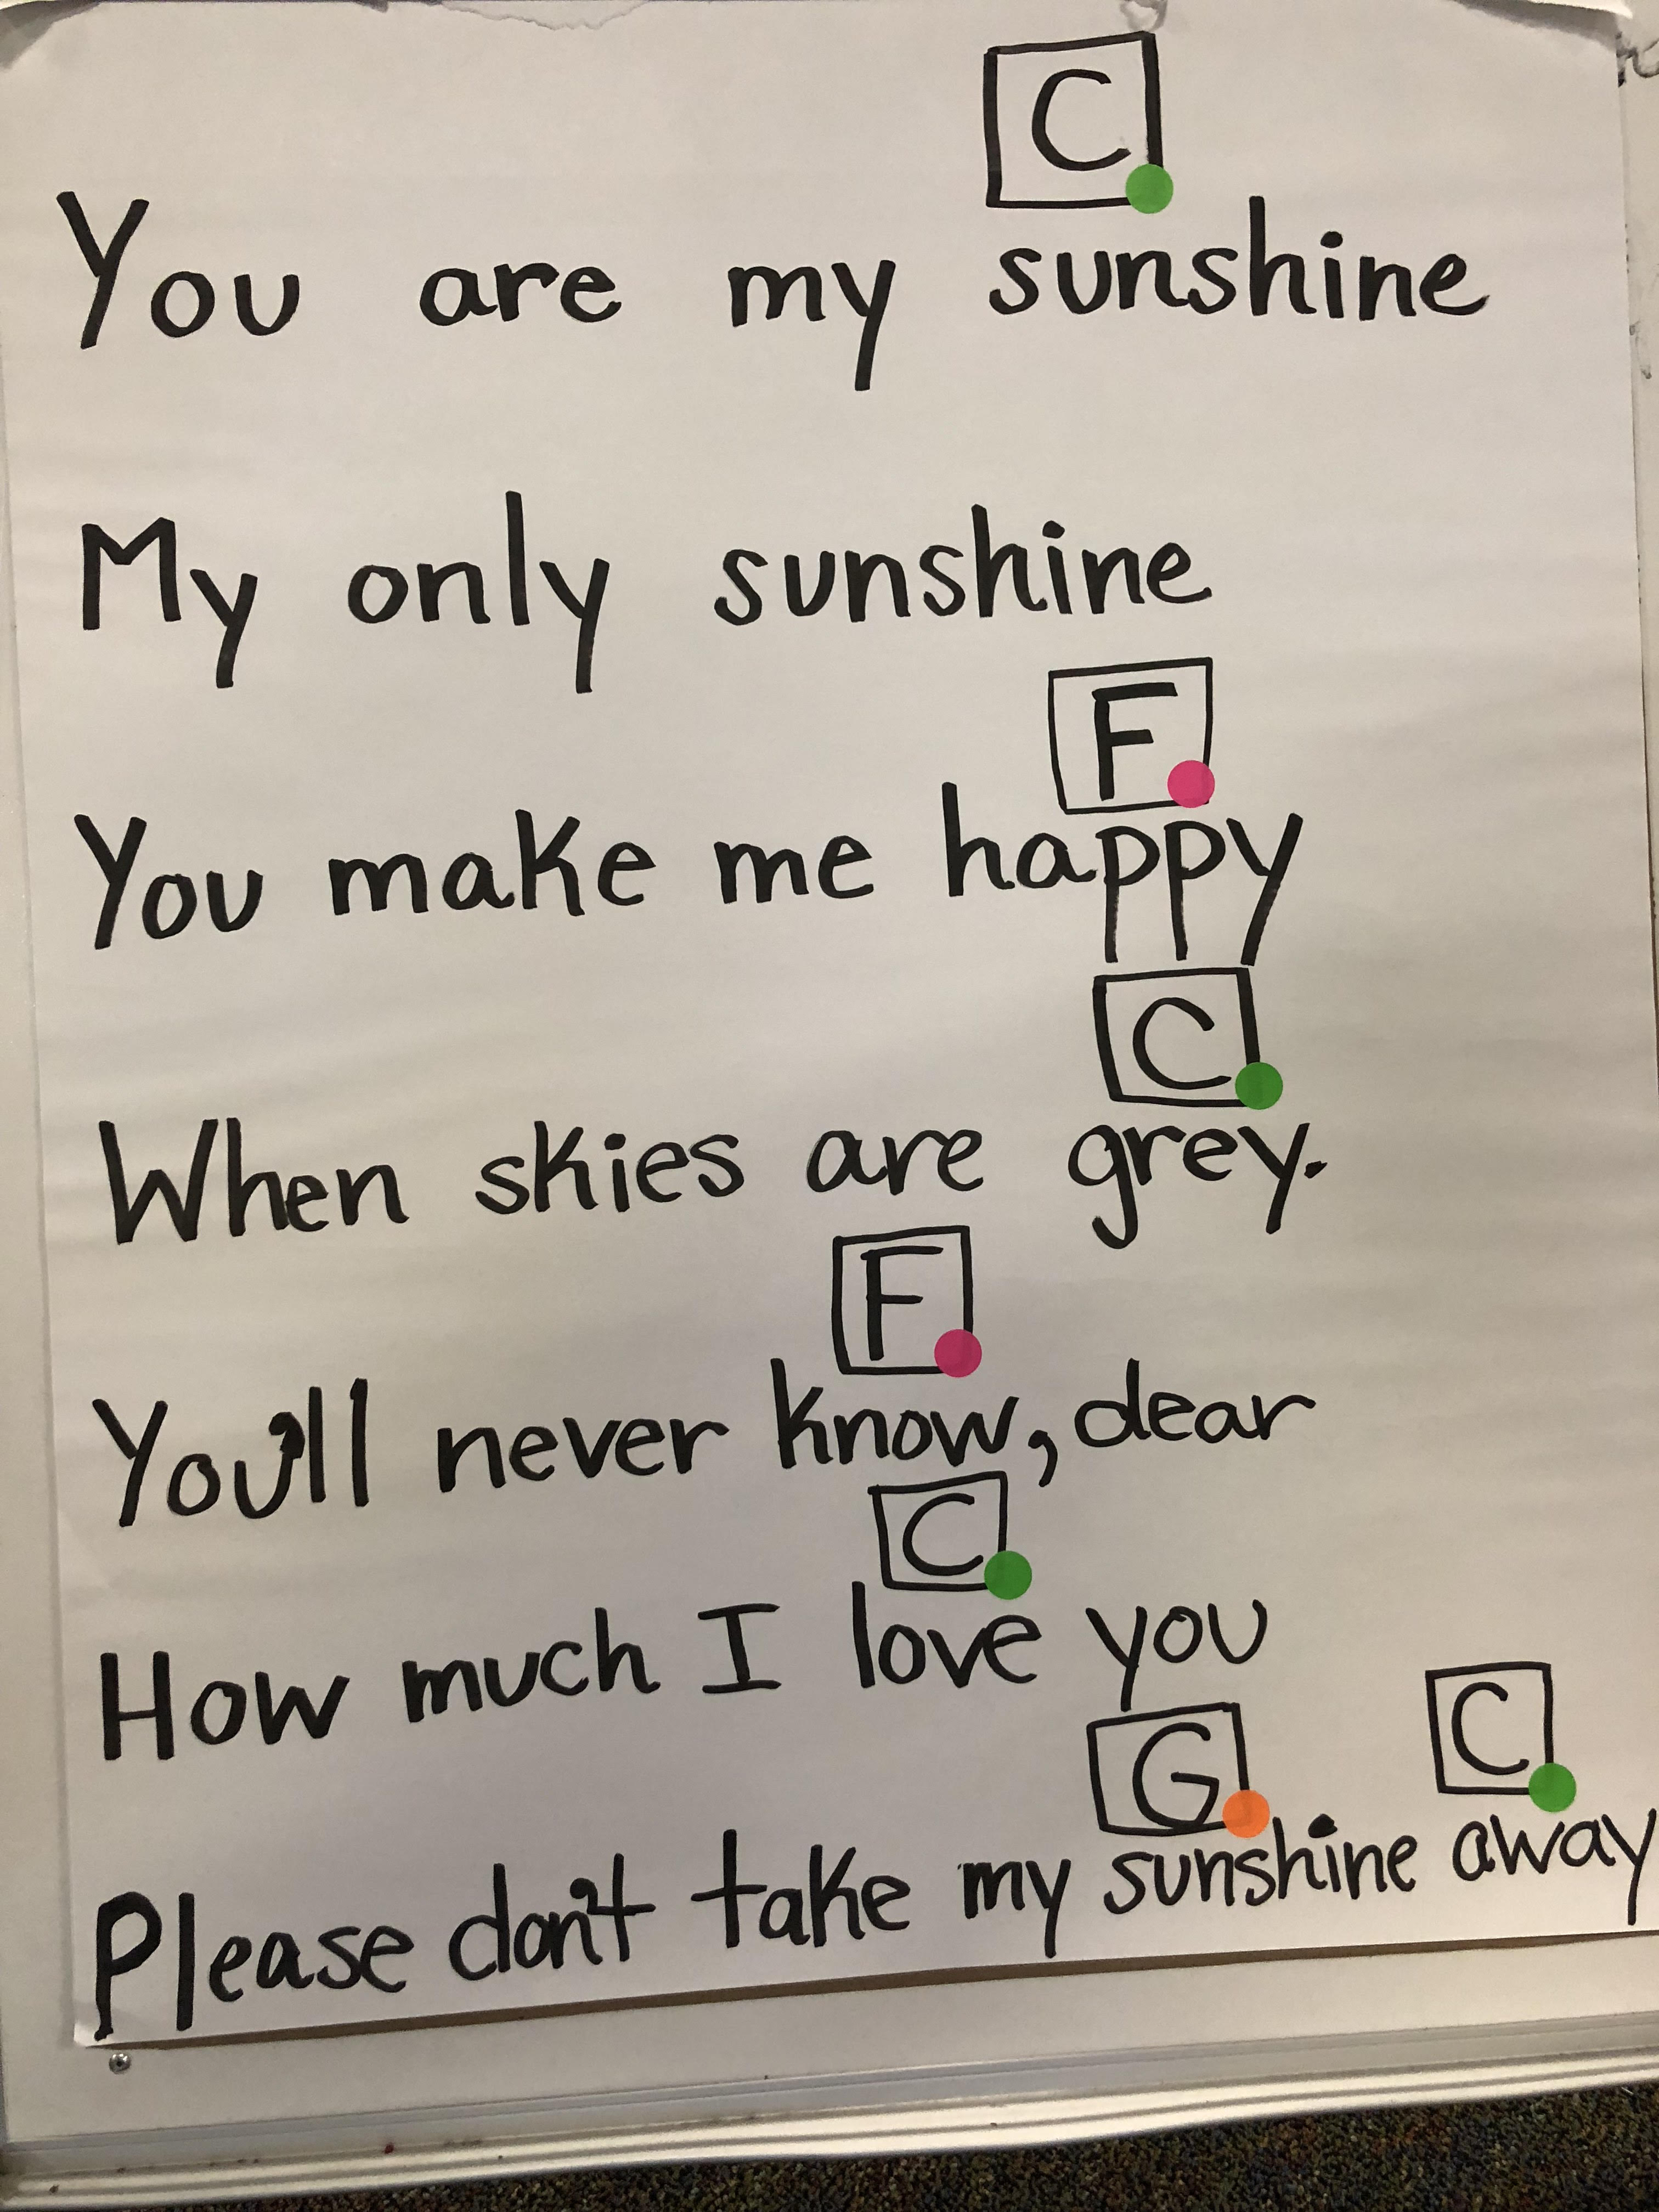
I buy these tiny neon stickers from Walmart or Amazon, and color code each chord. Often, I will create corresponding chord charts with songs we are working on.

2. Partner Up.
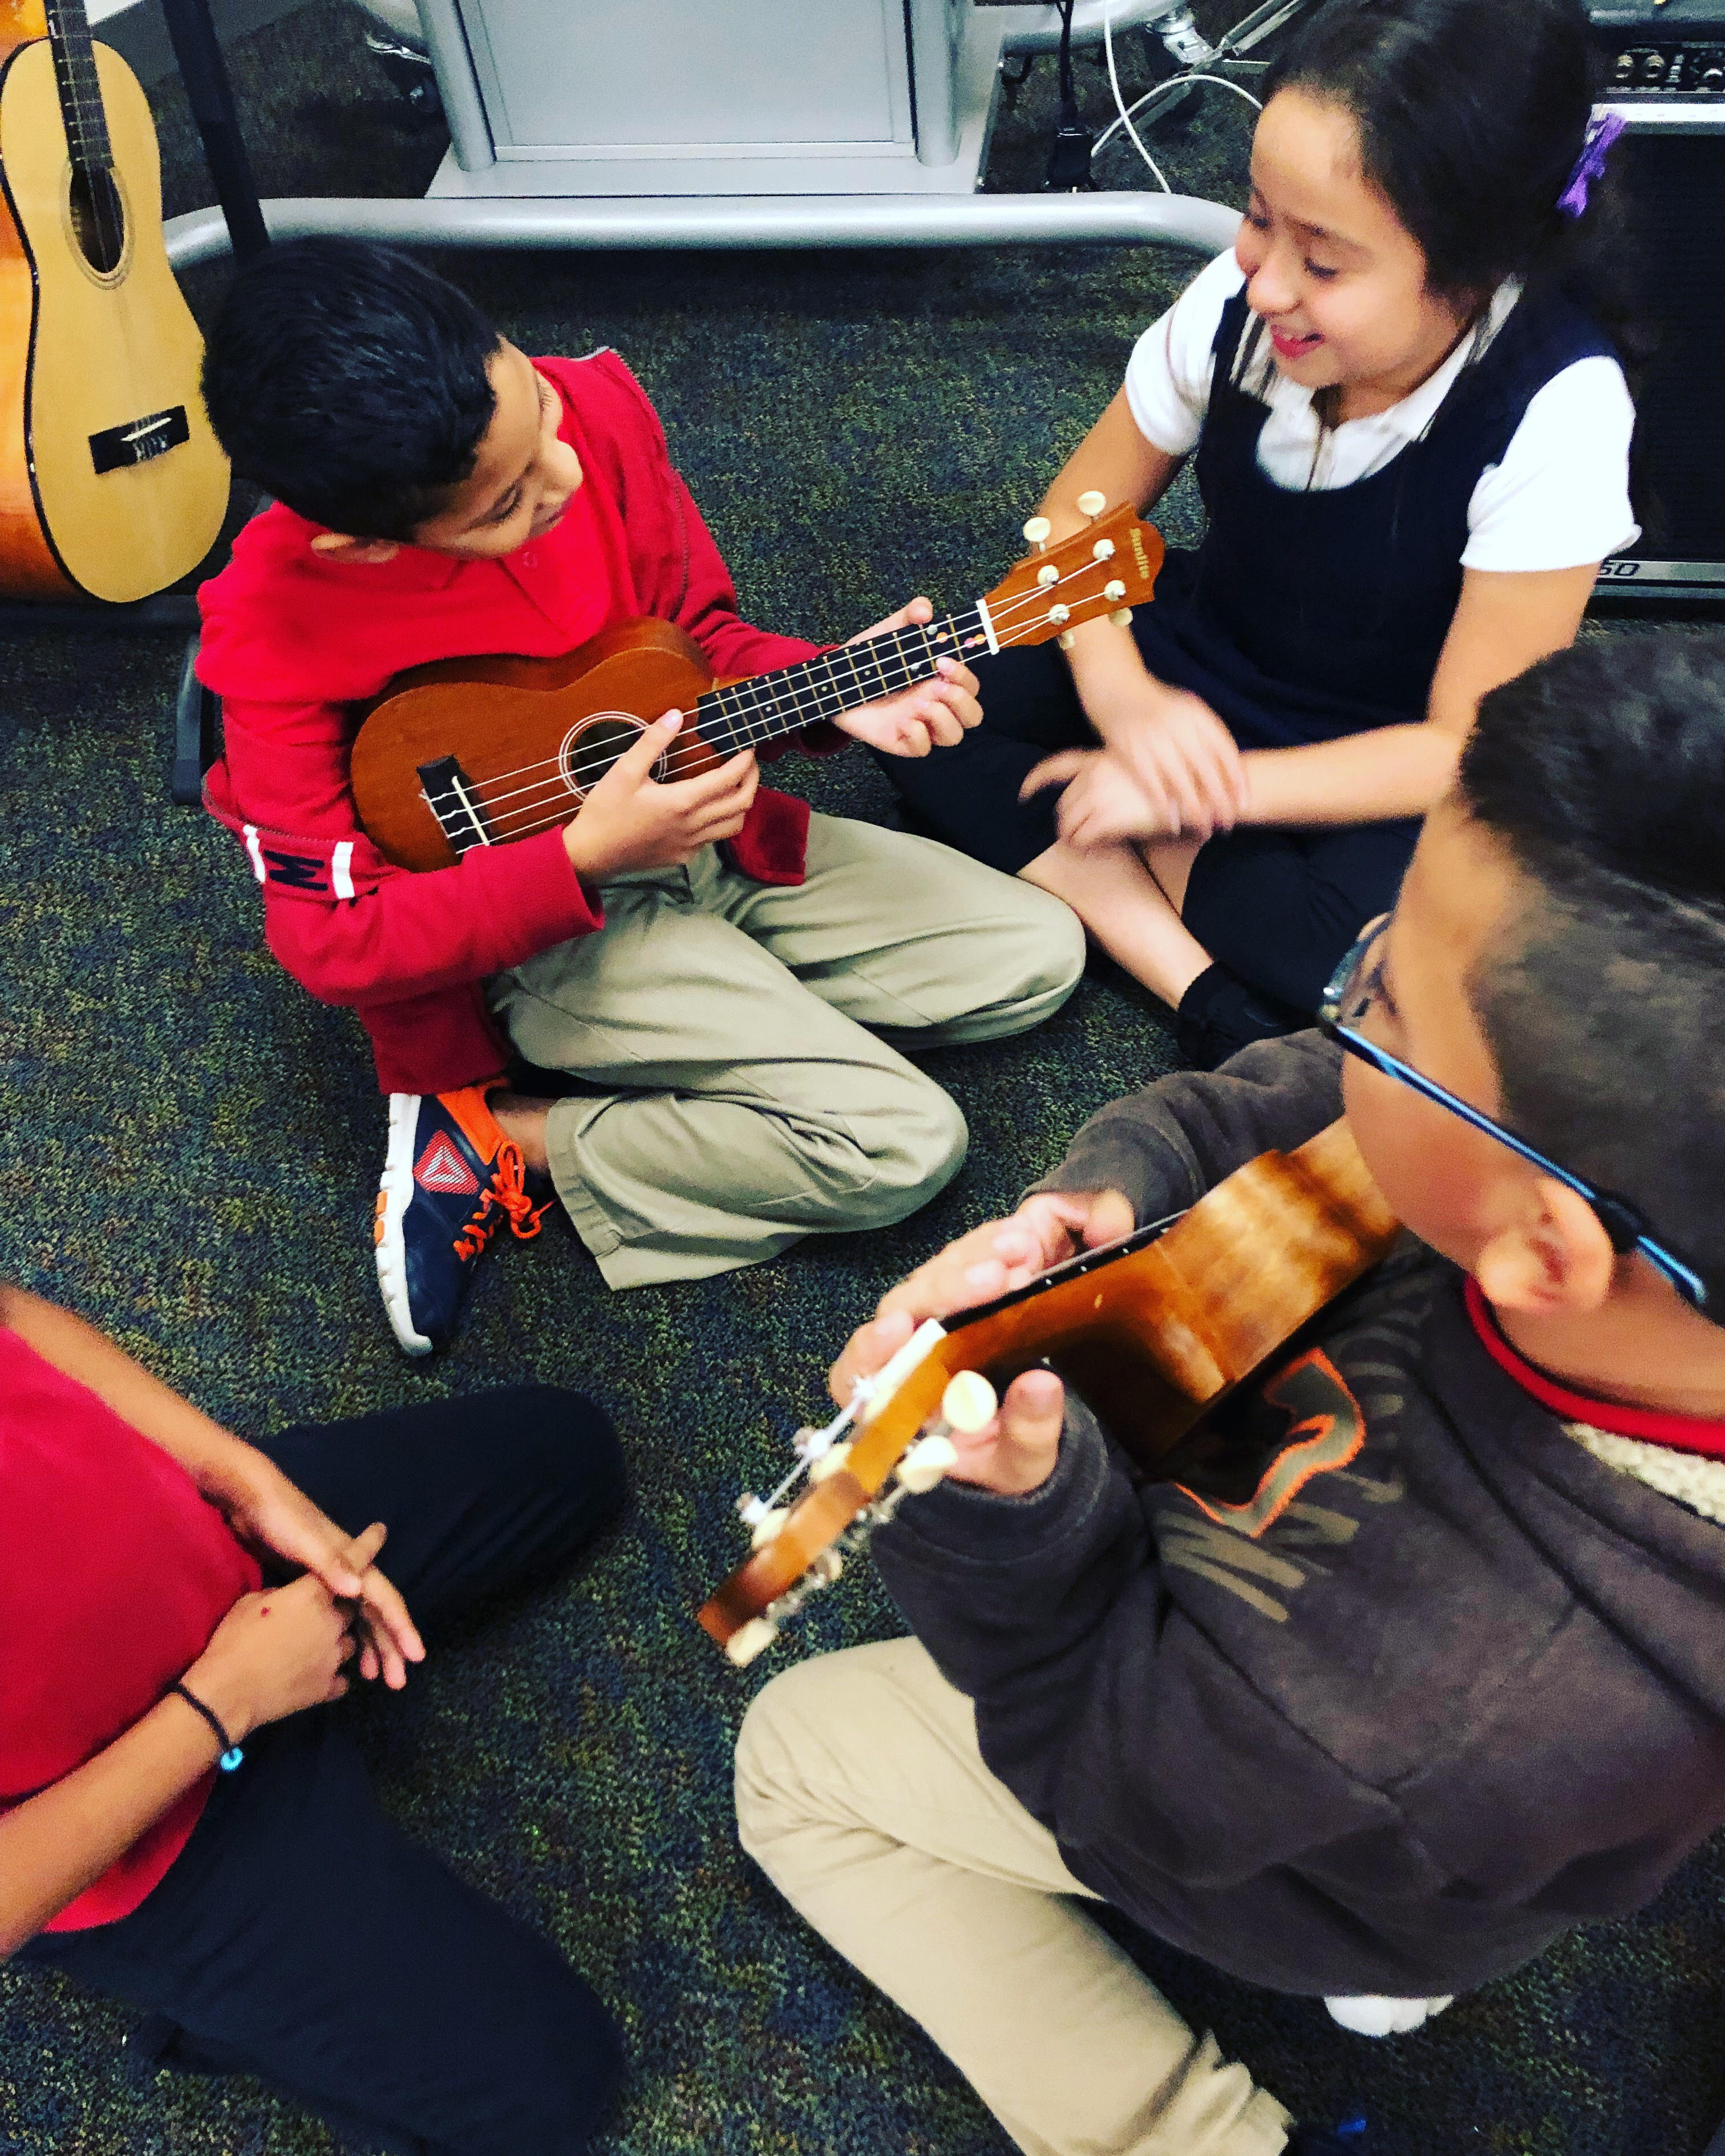
You don’t need a full class set of ukuleles. The student’s fingers start to hurt and by partnering up it gives them a chance to rest their poor, tired, calloused fingers. But I always tell them that PAIN IS GAIN! Also, if you can pair students together based on their skill level (high level with lower level), they can help each other learn the chords faster.

3.Start by teaching one finger chords.
Start with the “C” chord and then the one finger “F” chord. Eventually I will teach G7 and Am. But that’s usually all the chords I go over during the first year of ukulele.
4.Compose and create from the very beginning!
The first day we had ukulele club, I asked them to write a song, with a partner, while just playing the C chord. The things they came up with were amazing! And they can call themselves “songwriters” and “composers” from DAY 1!!
5.Split the class into “chord groups”.
If they only know the “C” chord and the “F” chord, divide them into 2 groups and have them play only when it’s their chord’s turn. This gives opportunity for scaffolding based on skill levels. You will see the lower level students feel successful, and the more advanced students start to switch to both chords.
The most important thing we can do, as music teachers, is to HAVE FUN while we are teaching. The kids know if we are not feelin’ it. So, I encourage you to have fun on this journey of learning ukulele. Choose songs that you like, and that will get you excited to teach! But, even MORE importantly, have a happy Thanksgiving and enjoy being present with your loved ones. You deserve every. last. bite.
Keepin’ it simple,
Paige


